esp32 ADC

ESP32 ADC

  • ESP32는 18개의 12bit ADC 입력핀을 사용할 수 있다. (0~4095)
  • 아두이노의 경우 10bit를 사용한다. (0~1023)
  • 0V ~ 3.3V의 전압을 0~4095(0xFFF)까지의 디지털값으로 AD 변환한다.
  • Arduino IDE 환경에서는 ESP32의 ADC 관련 레지스터를 조작하지 않고 analogRead() 함수를 사용하여 ESP32의 ADC 입력핀의 전압값을 가져올 수 있다.


Potentiometer 저항값 출력하기

schematic


sketch

가변저항의 저항을 A0(ADC1_CH0, GPIO36)로 읽고 전압값으로 변환한 뒤 시리얼 모니터로 출력한다.

1
2
3
4
5
6
7
8
9
10
11
12
13
14
15
16
17
18
19
// ESP32 ADC test
#define analogPin A0

void setup() {
Serial.begin(115200);
}

void loop() {
// read the input on analog pin GPIO36 (ADC1_CH0):
int sensorValue = analogRead(analogPin);

// Convert the analog (12bit ADC : 0 - 4095) to a voltage (0 - 3.3V):
float voltage = (sensorValue /4095.0) * 3.3;

// print out the value you read:
Serial.println(voltage);

delay(200);
}


Potentiometer로 LED 밝기 조절하기

schematic


  • LED : R → GPIO19 / G → GPIO18 / B → GPIO17 / GND
  • 저항 : R → 150Ω / G → 100Ω / B → 100Ω
  • Potentiometer: Left 5V, Center AO(IO36), Right GND

sketch

1
2
3
4
5
6
7
8
9
10
11
12
13
14
15
16
17
18
19
20
21
22
#define RED_LED 19       // GPIO 19
#define analogPin A0 // Sensor VP, GPIO 36

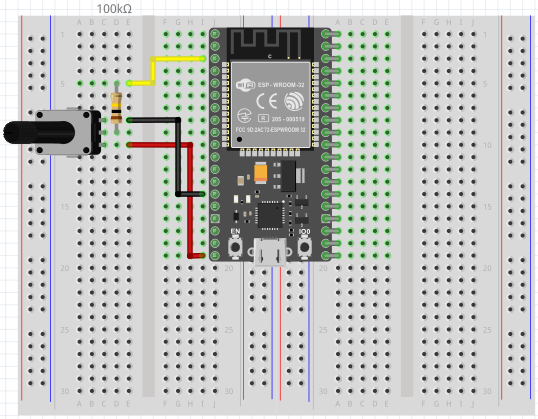
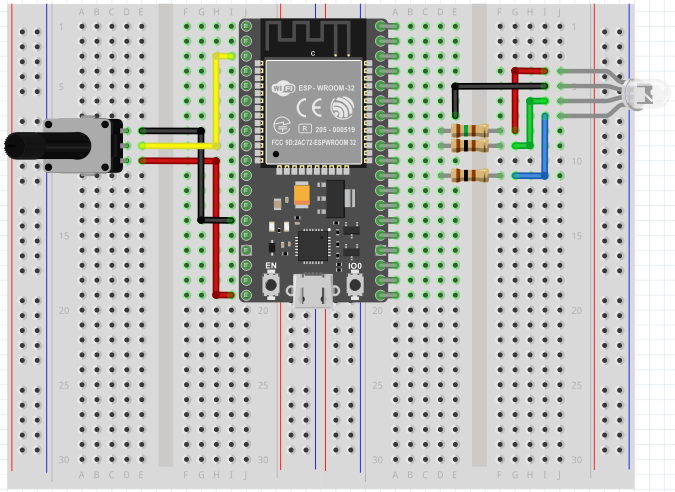
int freq = 5000; // 주파수
int ledChannel = 0; // 채널 (0 ~ 15 선택)
int resolution = 10; // 해상도 (1 ~ 16bit resolution 선택)
int R = 0;

void setup() {
Serial.begin(115200);
ledcSetup(ledChannel, freq, resolution); // 지정된 채널, 주파수 및 해상도 설정
ledcAttachPin(RED_LED, ledChannel); // LED 핀과 채널 연결
}

void loop() {
float raw = analogRead(analogPin);
R = map(raw, 0, 4095, 0, 1023); // 12bit -> 10bit

Serial.print(R); Serial.println(" ohm");
ledcWrite(ledChannel, R);
delay(7);
}
Author

chemidot

Posted on

2019-10-20

Updated on

2021-11-17

Licensed under

댓글