#define BLYNK_PRINT Serial
#define BLYNK_USE_DIRECT_CONNECT
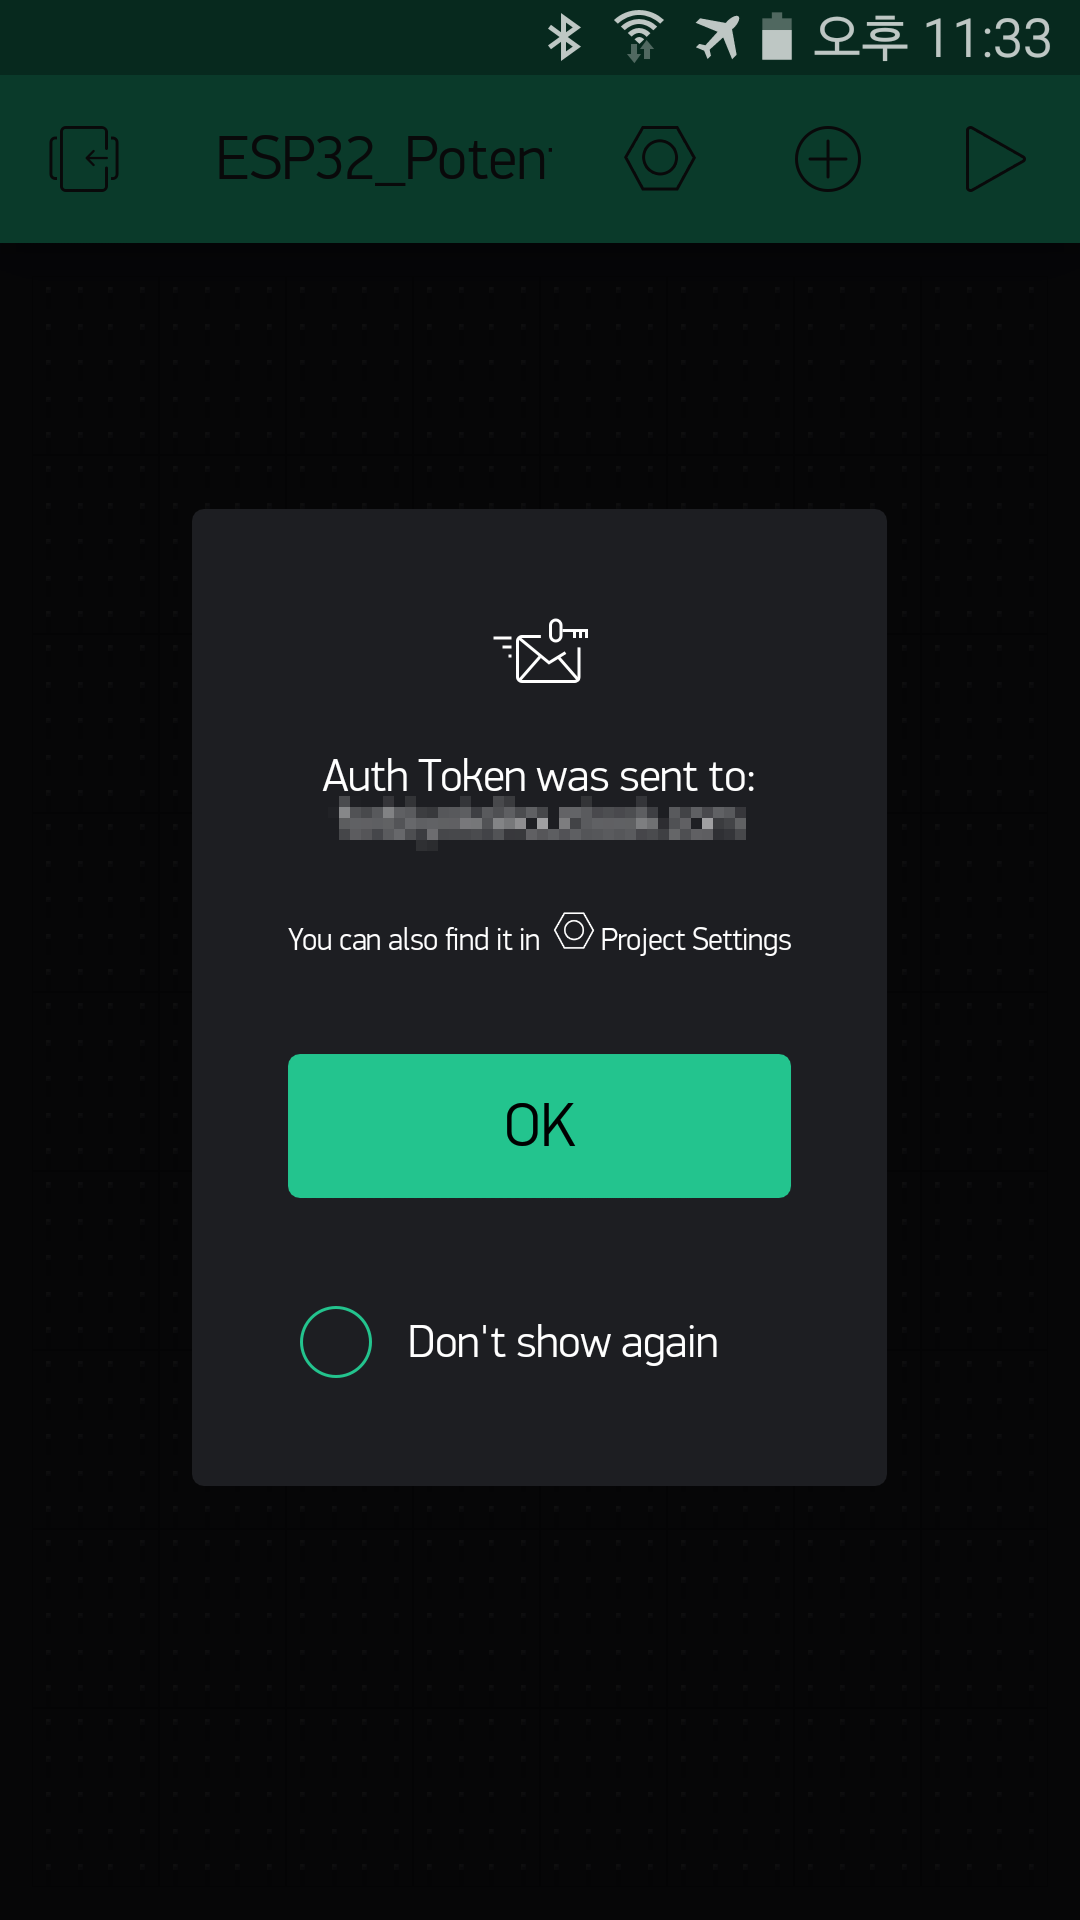
#include<BlynkSimpleEsp32_BLE.h>#include<BLEDevice.h>#include<BLEServer.h>// You should get Auth Token in the Blynk App.
// Go to the Project Settings (nut icon).
charauth[]="rc77E7UrbQHhoLE-LV1Ajxz20k8eLBrk";// setting PWM properties
#define LEDC_FREQ 5000 // Hz
#define LEDC_CHANNEL_0 0
#define LEDC_RESOLUTION 12 // 10bit (0~1023) 12bit(0~4095) 16bit(0~65535)
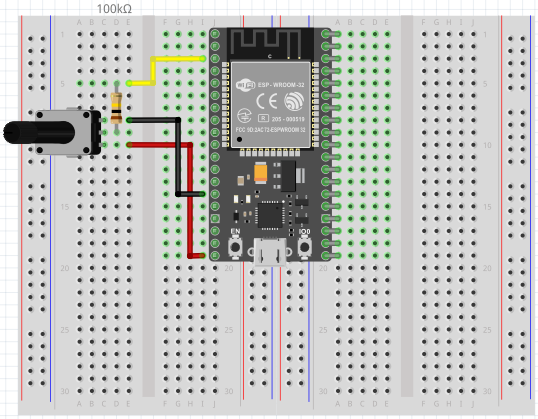
// led Pin
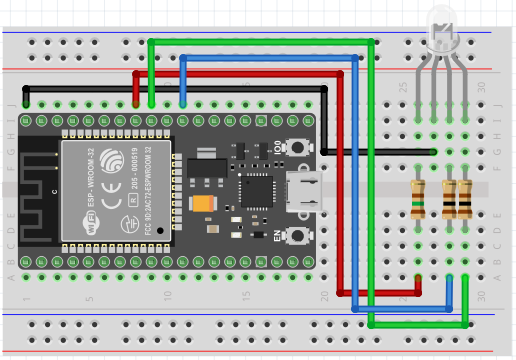
constintpin_ledR=19;BLYNK_WRITE(V5)// widget virtual pin5 -> ESP32
{intvalue_V5=param.asInt();ledcWrite(LEDC_CHANNEL_0,value_V5);Serial.print("V5 value: ");Serial.println(value_V5);}voidsetup(){// Debug console
Serial.begin(115200);Serial.println("Waiting for connections...");// configure LED PWM functionalitites
ledcSetup(LEDC_CHANNEL_0,LEDC_FREQ,LEDC_RESOLUTION);// attach the same channel to the GPIO to be controlled
ledcAttachPin(pin_ledR,LEDC_CHANNEL_0);// for Blynk
Blynk.setDeviceName("Blynk-t");Blynk.begin(auth);}voidloop(){Blynk.run();}
앱에서 센서값을 표시하는 가장 간단한 방법이며, Blynk 앱의 Virtual Pins이 구동중일때 센서값을 가져온다. (Blynk를 닫거나 백그라운드에서 실행될때 데이타는 요청되지 않는다.) 타이머를 사용할 필요가 없으므로 코딩이 단순한 편이지만, 데이터가 서버에 저장되지 않으므로 히스토리 그래프를 볼 수 없다는 단점이 있다.
BLYNK_READ(V5){//Blynk app has something on V5
sensorData=analogRead(A0);//reading the sensor on A0
Blynk.virtualWrite(V5,sensorData);//sending to Blynk
}
이 코드는 매시간마다 Blynk가 _READ 요청을 Virtual Pin V5에 보내도록 한다. A0핀에서 센서값을 읽은 후, Blynk에서 Virtual Pin V5에 되돌려 준다.
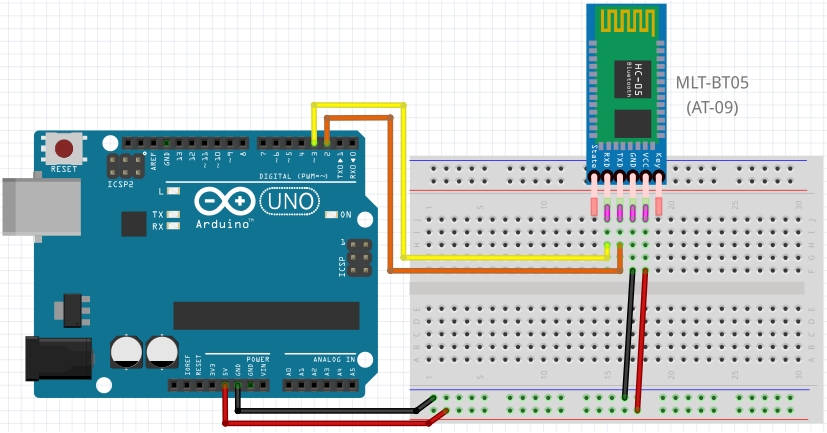
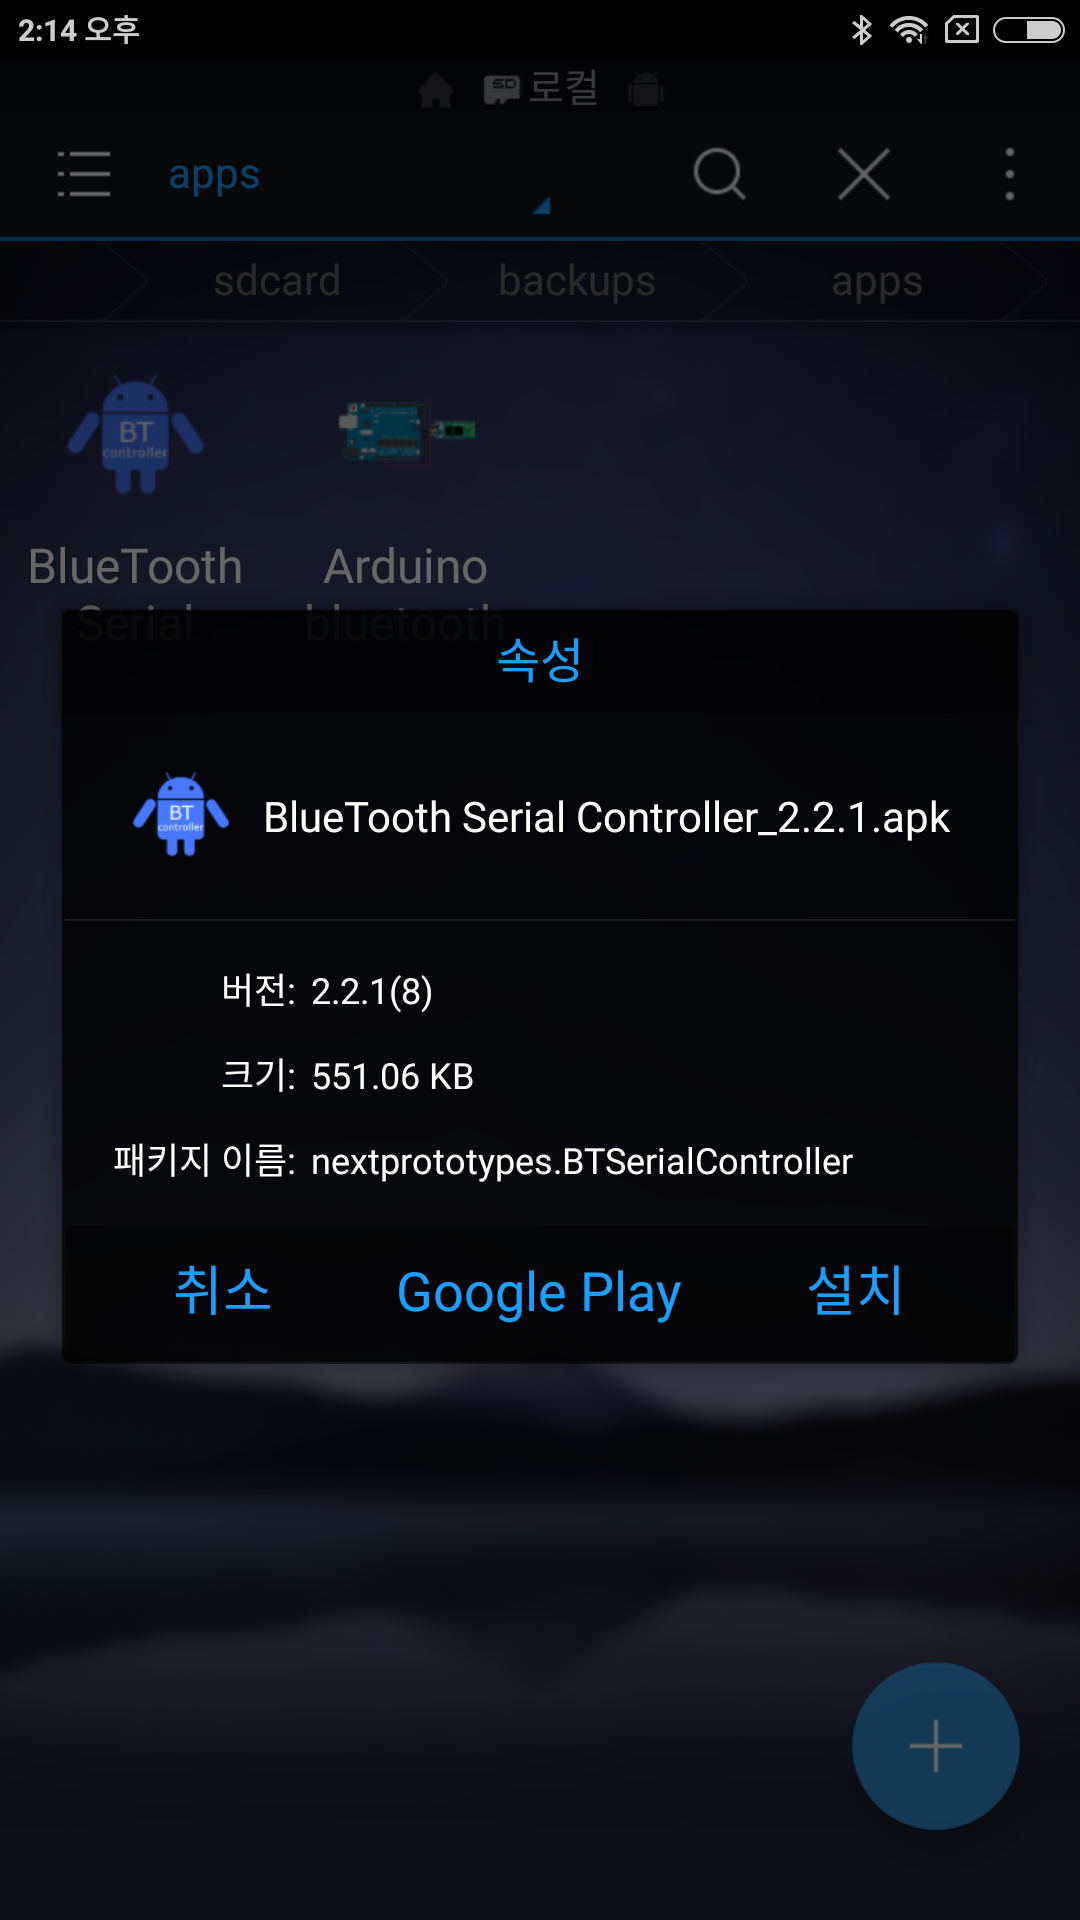
Bluetooth Serial Controller 앱을 통하여 아두이노와 스마트폰 간의 간단한 시리얼 통신을 해보겠습니다. 이를 위해서는 먼저 Bluetooth 페어링 문서를 참고하여 블루투스 모듈과 스마트폰을 페어링 해두어야 합니다. 페어링이 완료된 후 시리얼 통신을 진행합니다.
#include<SoftwareSerial.h>SoftwareSerialBTSerial(2,3);//Connect HC-06 TX,RX
voidsetup(){Serial.begin(9600);Serial.println("Hello!");// set the data rate for the BT port
BTSerial.begin(9600);}voidloop(){if(BTSerial.available())Serial.write(BTSerial.read());if(Serial.available())BTSerial.write(Serial.read());}